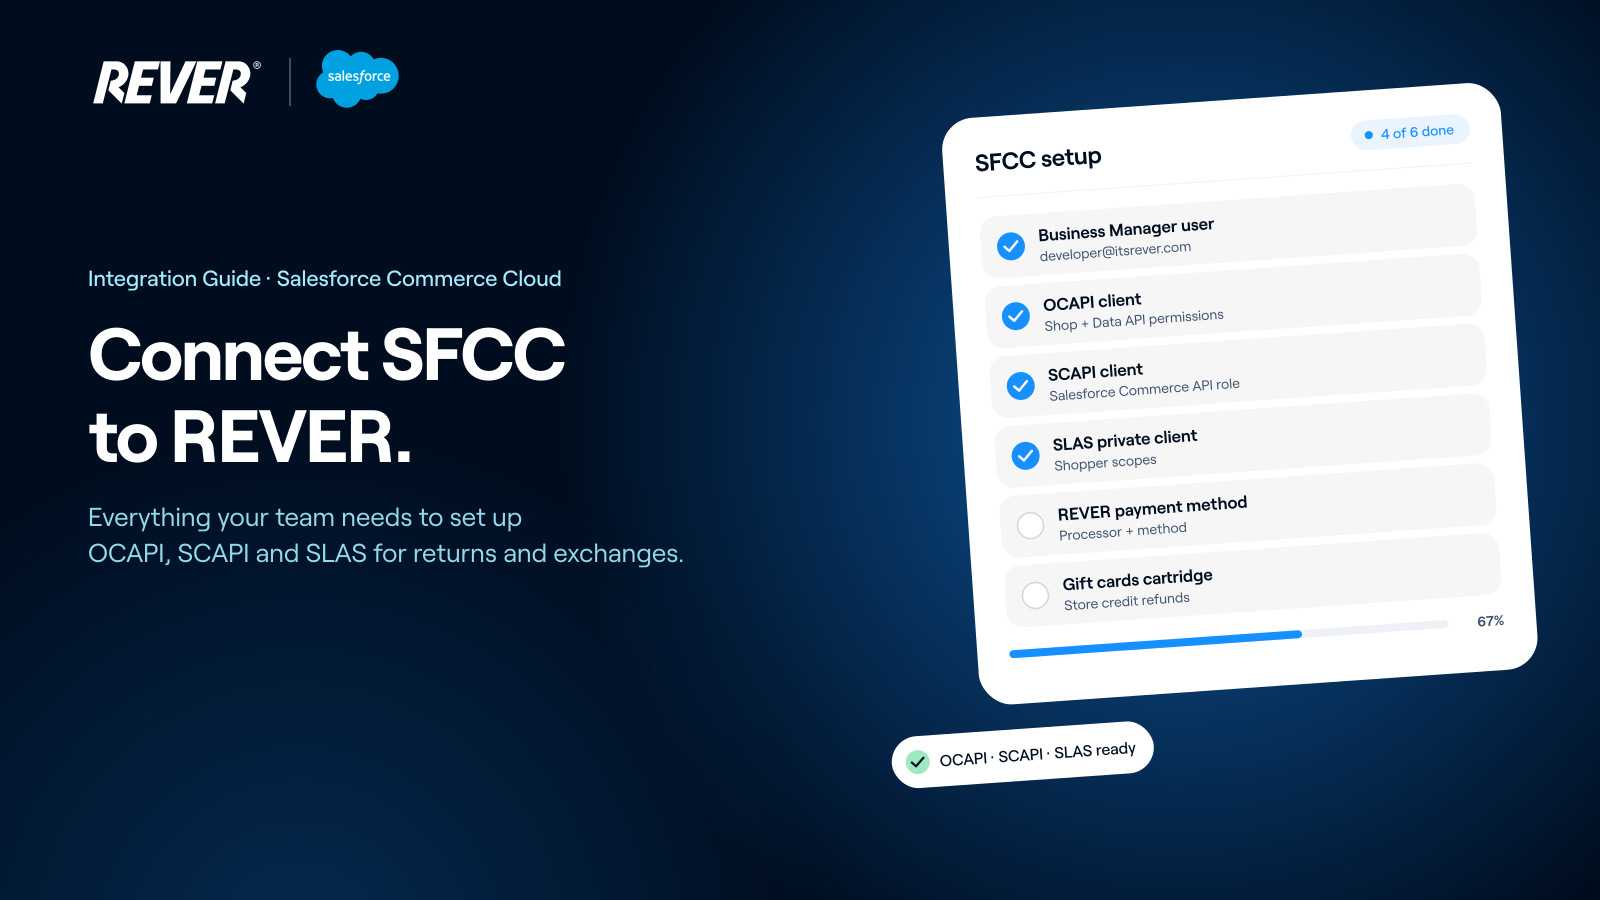
REVER integrates with Salesforce Commerce Cloud (SFCC, B2C Commerce) through OCAPI, SCAPI and SLAS. This guide lists everything you need to set up in your SFCC instance before REVER can start processing returns, exchanges and gift card refunds.
Once you finish these steps, send the resulting IDs and credentials to your REVER account manager through a secure channel.
REVER needs the following identifiers from your instance.
- Go to the Salesforce Commerce Cloud Control Center and click Realms.
- Copy the Realm ID.
- Open Business Manager and go to Administration.
- Click Site Development > Salesforce Commerce API Settings.
- Copy the Short Code and the Organization ID.
- In Business Manager, note down the Domain: the first part of your Business Manager URL, up to the first
.com. - Note down the Site ID, shown in the left-most section of the Business Manager toolbar.
REVER needs a Business Manager user to access your instances.
- Log in to Account Manager.
- In the left sidebar, click Users.
- Click Add User and fill in the mandatory details:
- Email Address:
developer@itsrever.com - First Name:
Developer - Last Name:
ItsRever
- Email Address:
- Under Organization, make sure your organization is selected.
- Click Save. An invitation email is sent automatically to
developer@itsrever.com.
- Scroll down to the Roles section on the user's page and click Add.
- Select the following roles:
- Business Manager User (required to log in)
- Business Manager Administrator
- Click Add to confirm.
- In the list of assigned roles, click the filter icon next to Business Manager User.
- Select your organization. You will see all your instances (Production, Staging, Development, Sandboxes).
- Check the instances REVER should have access to and click Add.
- Repeat for the Business Manager Administrator role, selecting the same instances.
- Log in to Account Manager and open the API Client section.
- Click Add API Client and fill in:
- A display name for the client.
- A password, confirmed. Store this password securely: it is your client secret.
- In the Organizations section, click Add and select the appropriate organization(s).
- In the Roles section, do not add the Salesforce Commerce API role. This client is used for OCAPI calls only.
- Click Save.
- Copy the Client ID and store it securely.
See the official documentation for more details.
In Business Manager, go to Administration > Site Development > Open Commerce API Settings. You need to configure two API types: Shop and Data.
In both cases, replace HERE_GOES_THE_CLIENT_ID with the Client ID you created above.
Select type Shop and context Global.
If the configuration is empty, paste the following JSON. If there is already content, add only the object inside clients as a new item at the end of the existing clients array.
{
  "_v": "24_1",
  "clients": [
    {
      "client_id": "HERE_GOES_THE_CLIENT_ID",
      "resources": [
        {
          "resource_id": "/order_search",
          "methods": ["post"],
          "read_attributes": "(**)",
          "write_attributes": "(**)"
        },
        {
          "resource_id": "/customers/*",
          "methods": ["post"],
          "read_attributes": "(**)",
          "write_attributes": "(**)"
        },
        {
          "resource_id": "/baskets",
          "methods": ["post"],
          "read_attributes": "(**)",
          "write_attributes": "(**)"
        },
        {
          "resource_id": "/baskets/*",
          "methods": ["delete"],
          "read_attributes": "(**)",
          "write_attributes": "(**)"
        },
        {
          "resource_id": "/baskets/*/price_adjustments",
          "methods": ["post"],
          "read_attributes": "(**)",
          "write_attributes": "(**)"
        },
        {
          "resource_id": "/orders/*",
          "methods": ["get", "patch"],
          "read_attributes": "(**)",
          "write_attributes": "(**)"
        },
        {
          "resource_id": "/orders",
          "methods": ["post"],
          "read_attributes": "(**)",
          "write_attributes": "(**)"
        },
        {
          "resource_id": "/orders/*/notes",
          "methods": ["post"],
          "read_attributes": "(**)",
          "write_attributes": "(**)"
        },
        {
          "resource_id": "/products/*",
          "methods": ["get"],
          "read_attributes": "(**)",
          "write_attributes": "(**)"
        },
        {
          "resource_id": "/products/*/*",
          "methods": ["get"],
          "read_attributes": "(**)",
          "write_attributes": "(**)"
        },
        {
          "resource_id": "/stores/*",
          "methods": ["get"],
          "read_attributes": "(**)",
          "write_attributes": "(**)"
        },
        {
          "resource_id": "/site",
          "methods": ["get"],
          "read_attributes": "(**)",
          "write_attributes": "(**)"
        },
        {
          "resource_id": "/products/*/variations",
          "methods": ["get"],
          "cache_time": 0,
          "config": {
            "_comment": "Add a comma-separated list of the price book ids currently active in the organization",
            "product.prices.price_book_ids": "*"
          }
        }
      ]
    }
  ]
}Select type Data and context Global.
If the configuration is empty, paste the following JSON. If there is already content, add only the object inside clients as a new item at the end of the existing clients array.
{
  "_v": "24_1",
  "clients": [
    {
      "client_id": "HERE_GOES_THE_CLIENT_ID",
      "resources": [
        {
          "resource_id": "/locale_info/locales",
          "methods": ["get"],
          "read_attributes": "(**)",
          "write_attributes": "(**)"
        }
      ]
    }
  ]
}
Click Save to apply the changes.
See the official documentation for more details.
Important
- Keep the client ID and password secure: they give access to your Salesforce Commerce Cloud data through the API.
- This OCAPI client cannot be used for SCAPI (Salesforce Commerce API) calls. Create a separate client for SCAPI, as described below.
- Log in to Account Manager and click API Client in the left navigation menu.
- Click Add API Client.
- Enter a descriptive Display Name (for example, "REVER SCAPI Client").
- Set a secure Password and confirm it. Store this password securely: it is your client secret.
- In Organizations, click Add, select your organization(s) and confirm.
- In Roles, click Add and select the Salesforce Commerce API role.
- Click the filter icon next to the role, select your organization and the instances this client can access, then click Add.
- In the Default Scopes field, paste the following scopes:
mail
roles
tenantFilter
profile
sfcc.products
sfcc.pricing
sfcc.gift-certificates
sfcc.gift-certificates.rw
sfcc.cdn-zones
sfcc.cdn-zones.rw
sfcc.inventory.impex-graphs
sfcc.inventory.impex-inventory.rw
sfcc.inventory.impex-inventory
sfcc.inventory.availability
sfcc.inventory.availability.rw
sfcc.inventory.reservations
sfcc.inventory.reservations.rw
sfcc.promotions
sfcc.promotions.rw
openId
sfcc.shopper-baskets-orders.rw
sfcc.shopper-categories
sfcc.shopper-customers.login
sfcc.shopper-customers.register
sfcc.shopper-gift-certificates
sfcc.shopper-myaccount.rw
sfcc.shopper-product-search
sfcc.shopper-productlists
sfcc.shopper-products
sfcc.shopper-promotions
sfcc.shopper-custom-objects
sfcc.shopper-stores
sfcc.catalogs
sfcc.orders
sfcc.orders.rw
sfcc.ts_ext_on_behalf_of
c_rever_giftcertificates- Review the client name, organizations and roles, then click Save.
- Copy the Client ID shown in the confirmation message.
This client is used to manage order exchanges through SCAPI.
Open the SLAS Admin UI. Replace
{{short-code}}with the short code of your B2C Commerce instances:https://{{short-code}}.api.commercecloud.salesforce.com/shopper/auth-admin/v1/ui/Open the Clients tab and click Add Client.
Choose the corresponding tenant and site from the dropdowns.
Set the App Type to Private.
Set the following shopper scopes:
sfcc.shopper-myaccount.baskets sfcc.shopper-discovery-search sfcc.shopper-myaccount.paymentinstruments sfcc.shopper-customers.login sfcc.shopper-myaccount.orders sfcc.shopper-productlists sfcc.shopper-custom-objects sfcc.shopper-promotions sfcc.session_bridge sfcc.shopper-myaccount.paymentinstruments.rw sfcc.shopper-myaccount.productlists sfcc.shopper-categories sfcc.shopper-myaccount sfcc.shopper-myaccount.addresses sfcc.shopper-products sfcc.shopper-myaccount.rw sfcc.pwdless_login sfcc.shopper-context.rw sfcc.shopper-baskets-orders sfcc.shopper-customers.register sfcc.shopper-myaccount.addresses.rw sfcc.shopper-myaccount.productlists.rw sfcc.shopper-baskets-orders.rw sfcc.shopper-custom-objects.countries sfcc.shopper-gift-certificates sfcc.shopper-product-search sfcc.ts_ext_on_behalf_of- Click Save, then copy the Client ID and Client Secret (the secret is shown at the top of the page) and store them securely.
This setup is required to process exchanges. When REVER creates a new order for an exchange, it marks the order as paid with the REVER payment method so it can be identified as an exchange.
- Go to Merchant Tools > Ordering > Payment Processor.
- Click New.
- Set the ID to
REVER. - Add a description, for example "Processor for REVER exchanges".
- Go to Merchant Tools > Ordering > Payment Methods.
- Click New.
- Set both the ID and the Name to
REVER. - In the Details section, select
REVERas the Payment Processor.
For REVER to read prices correctly, your price books must be assigned to the site.
- Select your site, then go to Merchant Tools > Products and Catalogs > Price Books.
- Click the price book you want to assign.
- Open the Site Assignments tab.
- Select the site(s) to assign it to. A price book can be assigned to several sites, and a site can have several price books as long as they share the same currency.
- Click Apply.
When a return is resolved as store credit, your Commerce Cloud instance issues a gift certificate (gift card) as the refund method. The REVER cartridge lets REVER retrieve that gift certificate so the return can be completed.
The cartridge exposes a REST endpoint that looks up a gift certificate by its merchant ID and returns its redeemable code:
- REVER calls the endpoint with a gift certificate identifier.
- The cartridge validates the input and queries Commerce Cloud's native gift certificate manager.
- It returns the gift certificate code so REVER can associate it with the completed return.
Installation
- REVER provides you with a
.zipfile containing the cartridge. - Install the cartridge following your usual deployment process.
So that REVER can track orders, fulfillment statuses and return statuses without a direct integration with your OMS, implement the following custom attributes on the SFCC order object.
Captures the fulfillment and delivery status of each line item (or group of items), identified by the product variant_id.
- If you don't support multiple fulfillments per order,
fulfillment_idcan default to theorder_id. - Either
sent_atordelivered_atis required. Both are recommended when available.
[
  {
    "fulfillment_id": "123",
    "sent_at": "2021-01-01",
    "delivered_at": "2021-01-01",
    "line_items": [
      {
        "variant_id": "123",
        "quantity": 10
      }
    ]
  }
]Tracks the return status of line items returned with REVER, with the variant and the REVER process ID as reference.
[
  {
    "reverProcessID": "retpEXAMPLE",
    "platformProcessID": "ORD-YYYY-MM-DD-001",
    "orderID": "WEB123456",
    "shopperEmail": "shopper@example.com",
    "startedAt": "2025-01-01T10:00:00Z",
    "status": "Pending",
    "returnLineItems": [
      {
        "lineItemId": "111122223333",
        "productId": "PRODUCT_EXAMPLE_01",
        "returnReason": "DEFECTIVE_ITEM",
        "quantity": 1,
        "compensationMethod": "ORIGINAL"
      }
    ],
    "reviews": [
      {
        "lineItemID": "rli_item_01",
        "rejectReason": null,
        "status": "APPROVED",
        "reviewDate": "2025-01-02T09:00:00Z",
        "user": "returns_agent_01"
      },
      {
        "lineItemId": "rli_item_01",
        "rejectReason": "ITEM_WORN",
        "status": "REJECTED",
        "reviewDate": "2025-01-02T09:00:00Z",
        "user": "returns_agent_01"
      }
    ],
    "compensation": {
      "refunds": [
        {
          "amount": "1000",
          "currency": "EUR",
          "refunded_at": null,
          "type": "Original"
        }
      ],
      "exchangeOrder": {
        "orderID": "WEB123457",
        "orderedItems": [
          {
            "quantity": 1,
            "productId": "PRODUCT_EXAMPLE_01",
            "currency": "EUR"
          }
        ]
      }
    },
    "logistics": [
      {
        "trackingNumber": "TRACK123456",
        "trackingUrl": "https://tracking.example.com/track?number=TRACK123456",
        "carrier": "ExampleCarrier",
        "method": "drop_off"
      }
    ],
    "returnCosts": [
      {
        "type": "ORIGINAL_SHIPPING_COST",
        "total": 500,
        "currency": "EUR"
      },
      {
        "type": "RETURN_COST",
        "total": 400,
        "currency": "EUR"
      }
    ]
  }
]Boolean. REVER sets it to indicate that a new exchange order is not ready to be sent yet, pending review of the original return.
| Issue | Solution |
|---|---|
| After extending REVER to a new site, the returns portal does not load | Make sure the new site is included in the SCAPI and SLAS client scopes |
| Prices don't show correctly in the full catalog | Make sure your price books are assigned to the relevant site ID |
| Canceling products in SFCC makes the portal fail to load | Set products offline instead of canceling them |
For integration support, contact developer@itsrever.com.